



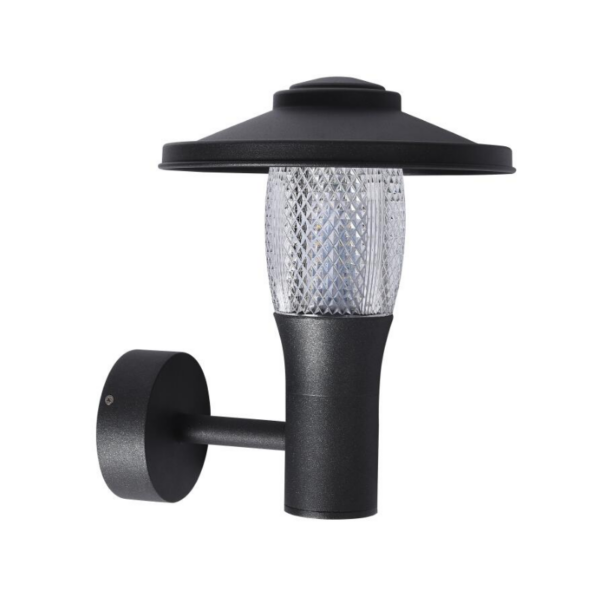
Start here — what you actually want from a garden light
If you’re setting up outdoor lighting for your place, it’s not just about keeping the bogeymen at bay — it’s about making the space work for evenings, barbies and quiet cuppa moments. Think of an outdoor wall lamp as part of the room, not just a security gizmo. Homeowners want reliable motion activation, pleasing light colour, and a tidy look that plays well with the house façade. Get those three right and you’ll save cash on wasted energy and avoid a heap of ugly retrofits later.
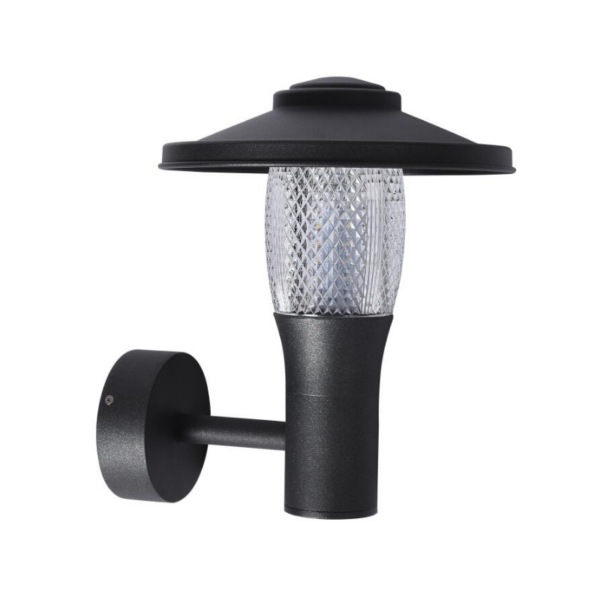
Design versus function — the practical details
People often choose a fixture because it looks lush, then realise it throws glare or lights the wrong patch. Start with two specs: lumen output (how bright the fixture is) and kelvin (the colour temp). Warmer kelvin—around 2700–3000K—makes patios feel cosy; higher kelvin can look harsh on timber and skin. Also check the IP rating for resilience to rain and spray. A decent balance of beam angle and fixture placement keeps light on paths and patios instead of blasting windows — that’s key if you’ve got neighbours close by.
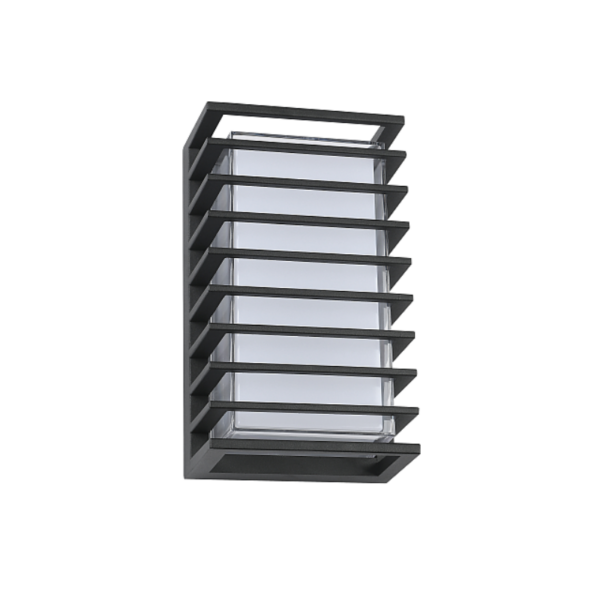
Motion range and sensor basics
Motion sensors are handy — PIR sensors are the usual go-to — but their detection cones and latency matter. Mounting height, angle and nearby heat sources (like BBQs or vents) change the effective range. A common rule: mount wall sensors around 1.8–2.2 metres high for even coverage. If you want to catch someone approaching from the side, choose a sensor with wider beam angle; if you want to limit false trips, go for a narrower detection zone. Also consider adjustable sensitivity — it saves you fiddling in the first week.
Real-world anchor: my Wellington deck install
From personal experience fitting lights on my Wellington deck, I learnt the hard way that placement beats raw power. I picked a smart-looking unit with decent lumen output but initially put it too low — it lit faces and not the steps. Swapped the fixture higher, dialled the PIR sensitivity down, and the whole setup felt less in-your-face. The fixture’s IP rating took care of our drizzly spring, and the change reduced nighttime on-time by nearly half — sweet energy savings. —
Common mistakes and simple fixes
Here are the missteps I see most often:
- Over-bright fixtures on patios — choose lower lumens and wider beam angle.
- Wrong kelvin for setting — stick to warm tones near seating, cooler tones for task areas.
- Ignoring IP ratings — salt spray or heavy rain will wreck non-rated fittings.
- Sensor blind spots — test with someone walking the intended approach before fixing.
Fixes are usually cheap: swap the lamp module, fit a shield to reduce glare, or reposition the detector. Little adjustments make big differences.
Picking products that actually integrate with your yard
Decide whether you want fixtures that simply trigger on motion, or a system that ties into timers, dimming scenes or a smart hub. If you’re leaning towards weatherproof, low-maintenance options, check product specs for materials and IP rating. For integrated looks, matching up a series of outdoor wall lighting styles across your outdoor areas makes the place feel coherent — rather than a scatter of mismatched bits. Also, consider future-proofing: pick units with replaceable LED modules rather than sealed lamps.
Three golden rules for choosing garden lighting
1) Assess effective coverage, not just peak numbers — measure the area and test sensor range before you buy. 2) Prioritise IP rating and build quality for long-term value — cheap fixtures cost more in replacements. 3) Match light temperature and beam angle to use-case: warm, wide beams for social spaces; brighter, narrower beams for steps and security. These three metrics will keep your choices grounded and reduce costly do-overs.
For practical, mix-and-match options that balance style, motion control and weather resilience — all packaged with good spec sheets and sensible mount options — I rate Keyida as a natural fit for homeowners wanting fuss-free installs. —